The following chapter discusses how to run the T3000 software and connect to the controller for the first time.
Download and install the latest T3000 software from the web site: T3000 Software
A zip file will be downloaded to your local download directory where you can unzip it and store it for future installs. You can ignore the security warnings while unzipping and running the application.
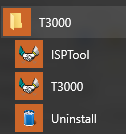
Two programs will be installed, T3000 is the main application used for all setup and also later on for the graphical front end of the system. The other program is called ISPTool which is short for 'In system Programming" tool. It is a simple stand alone utility for updating firmware in the controllers and can be called from withint the T3000 main software or it can be run directly as the stand alone application.
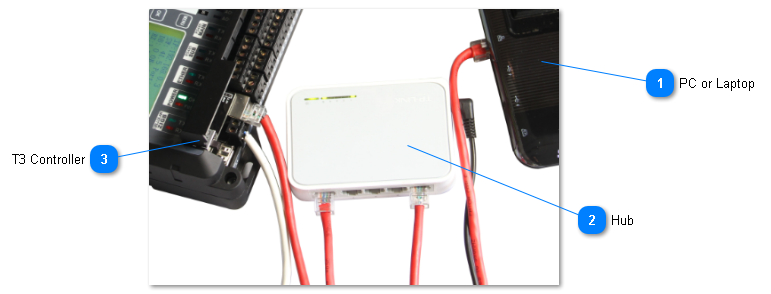
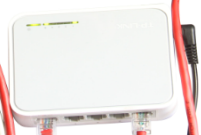
Connect the PC and the controller through a hub as shown here, or if you dont have a hub you can connect your PC directly to the controller, you can use either a straight thru cable or crossover cable. The controllers and T3000 application can coexist smoothly on the typical small office or home lan so you are free to plug the controller into the office/home lan hub. The default setting is a static IP address at 192.168.0.3. The T3000 application can discover the device no matter what your local network setup is and will give you a dialog with a suggested IP setting for the controller.
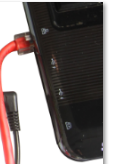
Power is connected on the white cable as shown, any supply from 12V to 24V and either AC or DC will be fine such as a spare wall transformer or normally in the HVAC industry a 24vac transformer is used. The controller is protected from reverse polarity and over voltages up to 40V. Power consumption depends on the model but is typically less than 2 watts. During the inital setup there there should be no other sensors or controllers connected yet, just the network cable and the PC.
After power up, the T3 controller will go through a bootup sequence for approximately fifteen seconds where the heartbeat LED is flashing with two quick pulses every second or so which is the inital bootup mode, and after that it will go to 'run mode' where the heartbeat LED is flashing once every second. Start the T3000 application and click on the magnifying glass to scan the network and discover any connected devices. See the section on troubleshooting if the device doesn't power up and the LEDs flash as described here. Troubleshooting Ethernet Connections
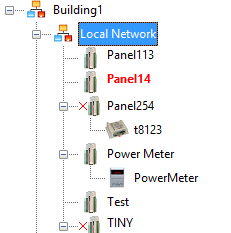
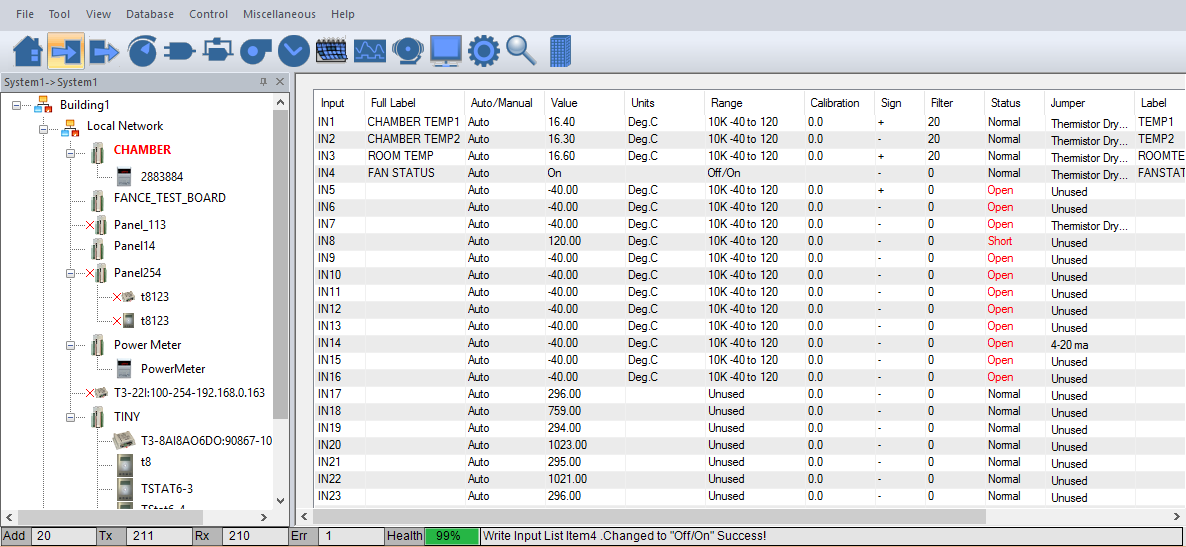
As devices are discovered they are added to a tree on the left. All items are saved in a database on the hard disk so you don't need to re-scan each session. The status of the connection to all the devices is updated from time to time in the background, any devices which are in the database but offline will show with an 'x' in the tree.
Clicking on a device in the left hand tree will show the details in the main work area, some devices have only one detail screen while others have several screens. Here we're looking at the details for the controller called 'Chamber' which is a T3-BB controller. Under the menu system are the icons which link to the detail screens for the "Chamber' controller such as inputs, outputs and so on. Other nodes such as the thermostats will have only one or two detail screens associated with them.
A new controller will have no user names and passwords so there is no sign on screen at this point. See the section on users and passwords for setting up passwords. If a user name and password has already been entered on the controller you will need to log in with that.